Authentication Flow step-by-step
1. Submitting Your Information To Us
To begin your Authentication, we must first acquire some information to create your User account to access our API.
Fill out our Google Form Here to begin.
If you have already completed this step, do not submit again!
Once your submission has been received, we will create your User account, and Email you a OneTimeSecret link to the email specified in the Google Form that contains your:
client_idclient_secretUsernamePassword
Your Username and Password will be used for both accessing your Backoffice account, and for Authenticating your API in the following steps.
2. Creating Your Code Challenge
Our authentication requires you to use a code challenge and code verifier.
Navigate to This Link to generate your code_verifier and code_challenge
When navigated to the link above, you will be presented with 2 buttons.
Press Generate Code Verifier FIRST, then click Generate Code Challenge
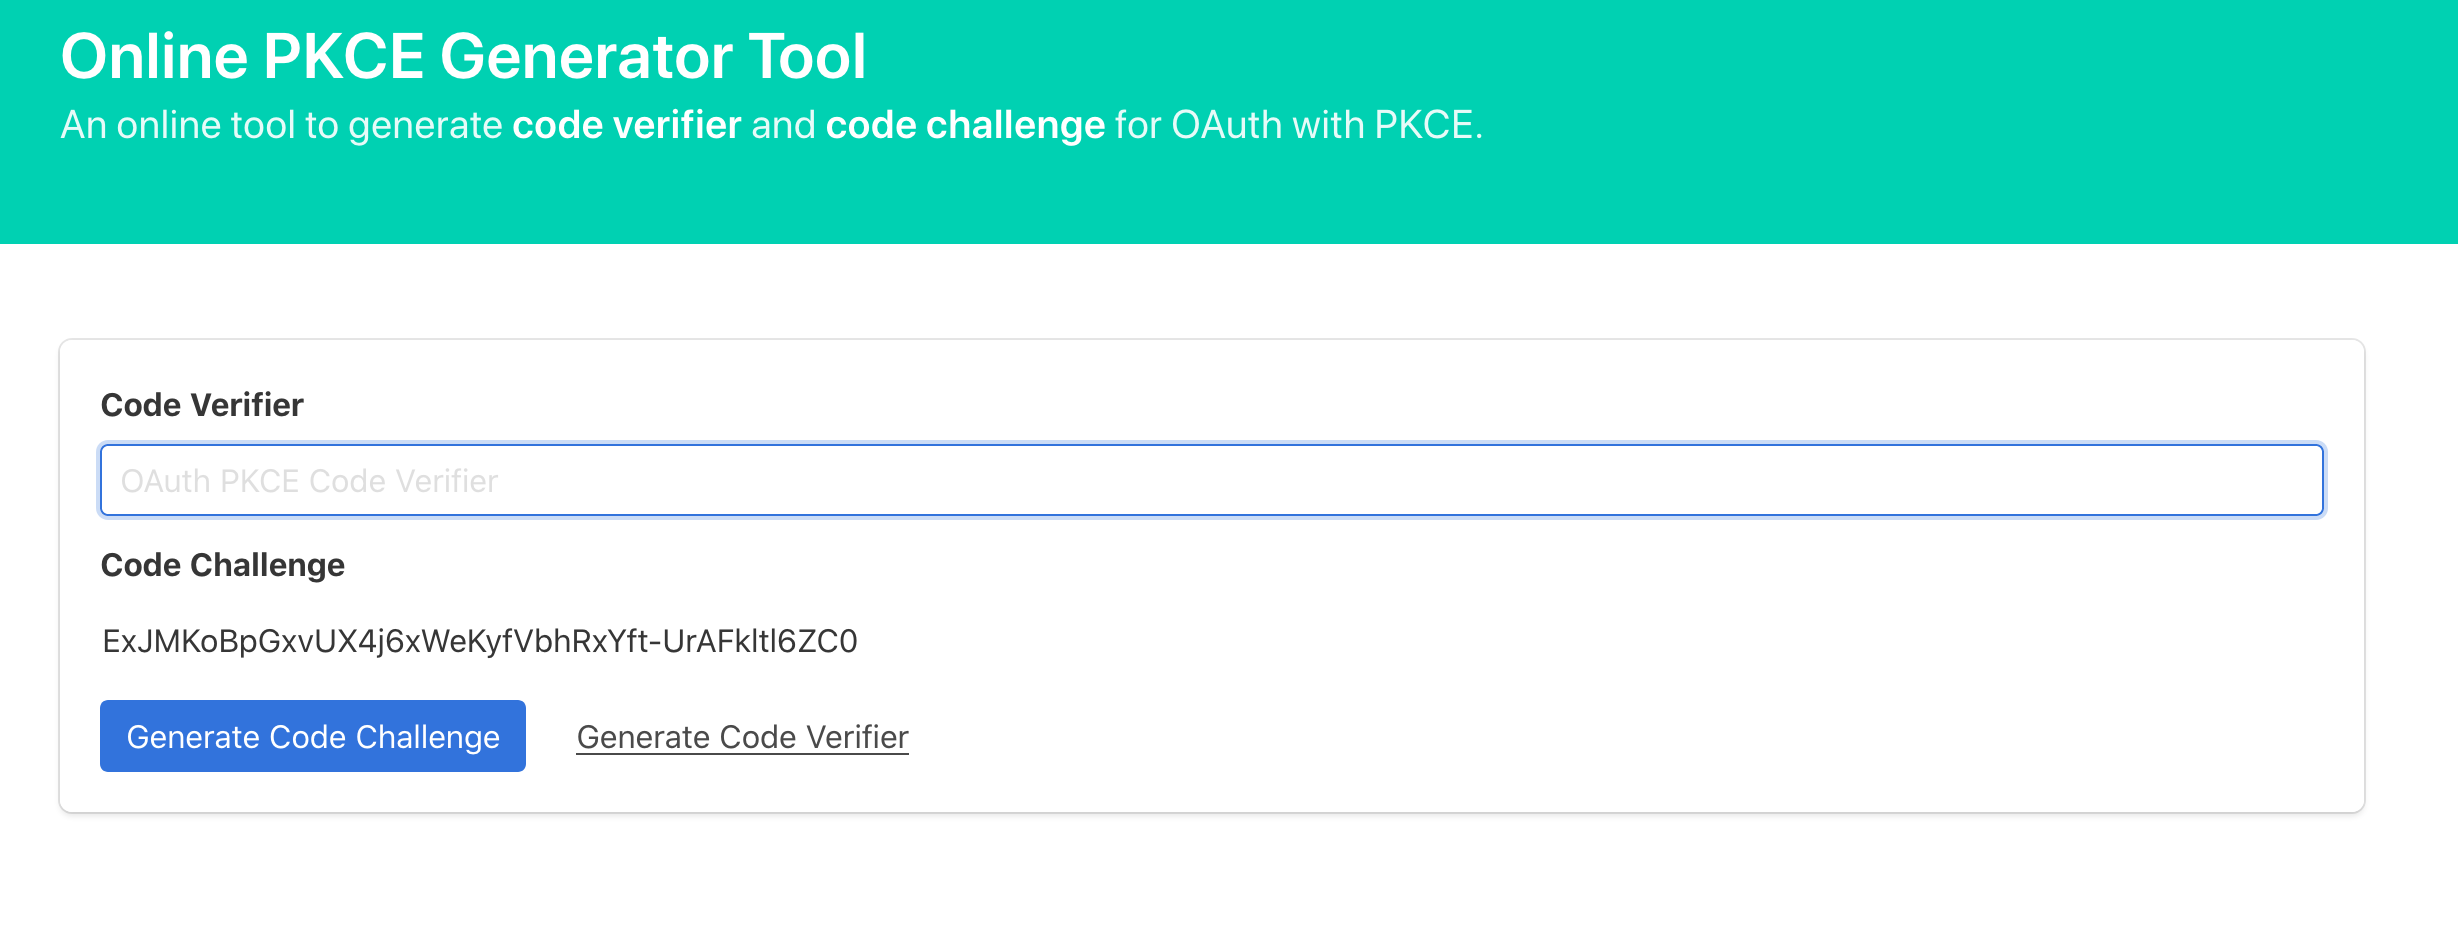
Be sure to save both your
code_verifierandcode_challengefor upcoming steps.
3. Acquiring your State String
State StringOur auth flow requires a State parameter to be included in order to authenticate.
You can either manually create a 20+ digit string of random Alpha-Numeric values, or simply use this link to auto-generate one for you:
The link above will present you with a properly formatted random string. Simply cope/paste that value and you're good to go.
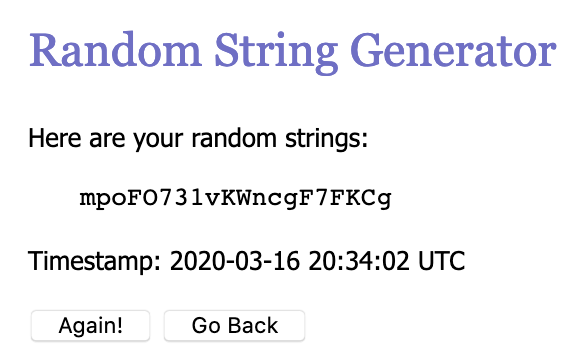
Save the generated
statestring for upcoming steps
4. Acquiring Your Code Parameter
Code ParameterIn your desired browser (we recommend Firefox), enter the following URL in your search bar:
Replace the values after client_id=, redirect_uri=, state=, and code_challenge= with your unique values acquired throughout this setup.
Press enter and you will be presented with a Login Page:
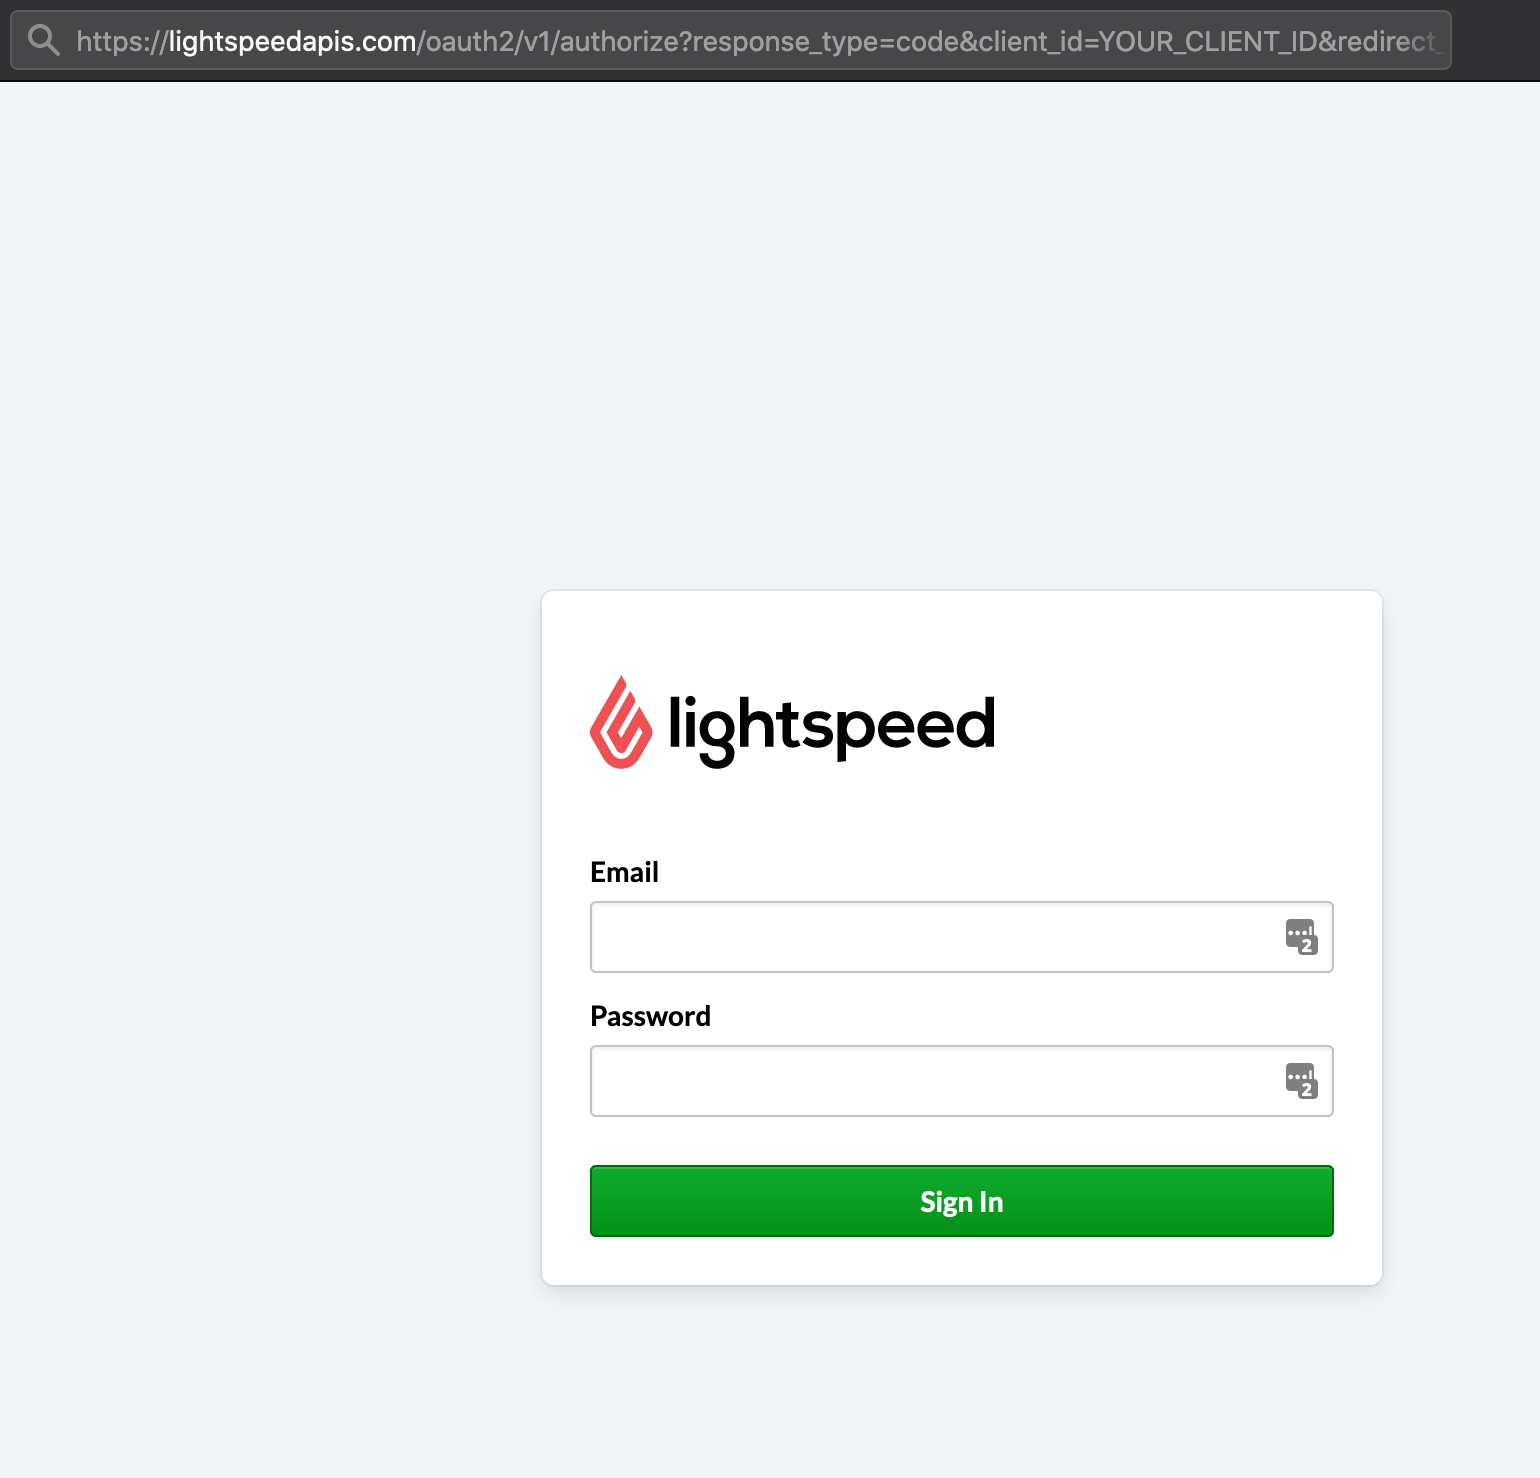
Fill it in with the Username and Password you acquired from the OneTimeSecret link emailed to you.
Upon a successful login, you will be automatically redirected to a Consent page.
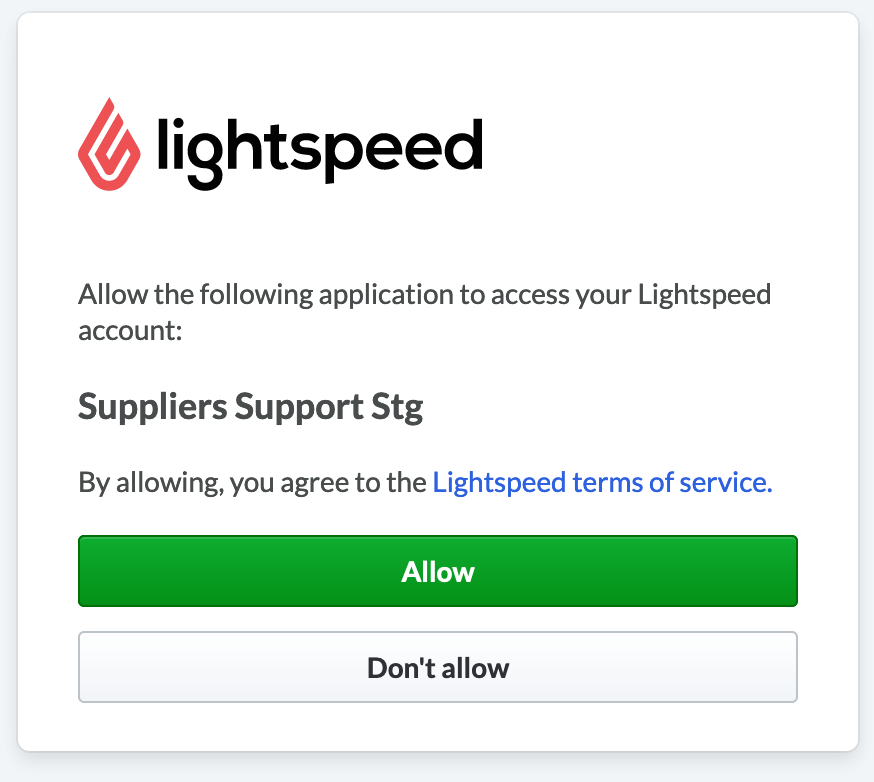
Upon consent, you will again be redirected, this time to the Callback URI with your code and state parameter appended to the end of the URL.
Example URL Below:
<YOUR_CALLBACK_URL>?state=rrt-8458678357857224472-d-gea1-3863-11839356-1&code=aBcDeFG12
Save both the code and state values.
At this point of the setup you should have the following data:
client_idclient_secretUsernamePasswordcallback uricode_challengecode parameterstate
5. Access and Refresh Token
You are now equipped with the credentials necessary to acquire your Access and Refresh token.
This following example will be done with Postman, however can be accomplished with many other API Testing apps.
Your Authorization must be set to a Basic Auth Type:
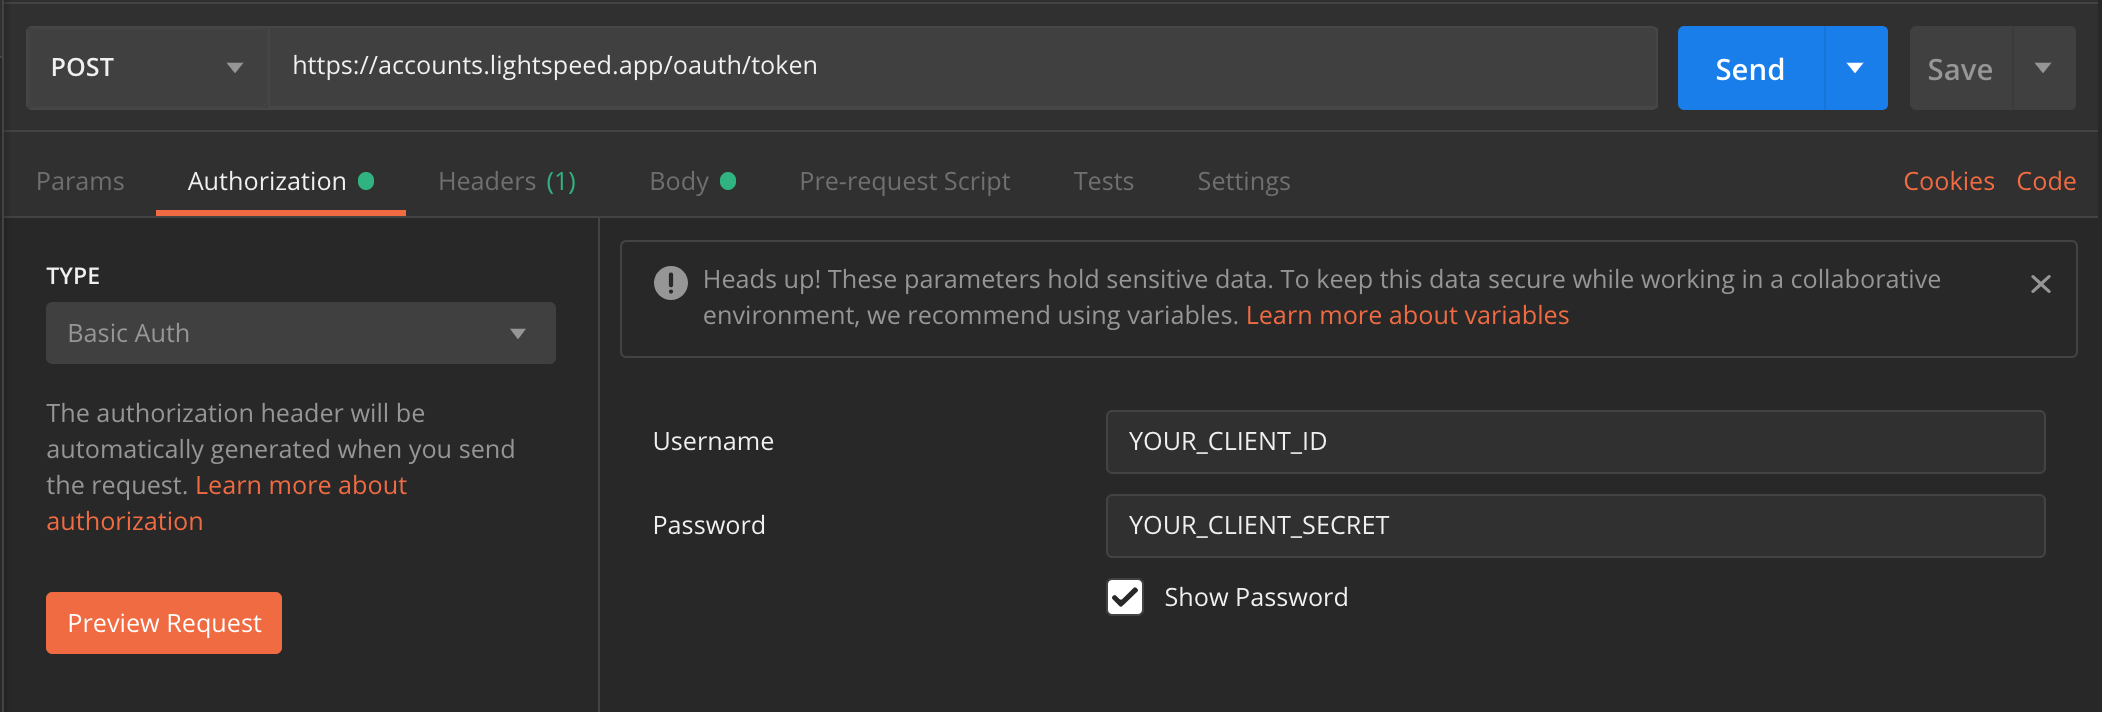
Authentication
Fill out your Body to match below:

Below is the cURL code snippet for this request if you would rather import this into your test app:
curl -X POST \
  https://accounts.lightspeed.app/oauth/token \
  -H 'Content-Type: application/x-www-form-urlencoded' \
	-u 'YOUR_CLIENT_ID:YOUR_CLIENT_SECRET' \
  -H 'cache-control: no-cache' \
  -d 'grant_type=authorization_code&redirect_uri=YOUR_REDIRECT_URI&code_verifier=YOUR_CODE_VERIFIER&code=YOUR_RETURNED_CODE'
Upon a successful POST, you will be given back your access_token and refresh_token.
If you have any questions about this Authentication Flow please email us at [email protected]
Updated almost 6 years ago
